Nectarine Upside-Down Cake
This post may contain affiliate links. Please see our privacy policy for details.
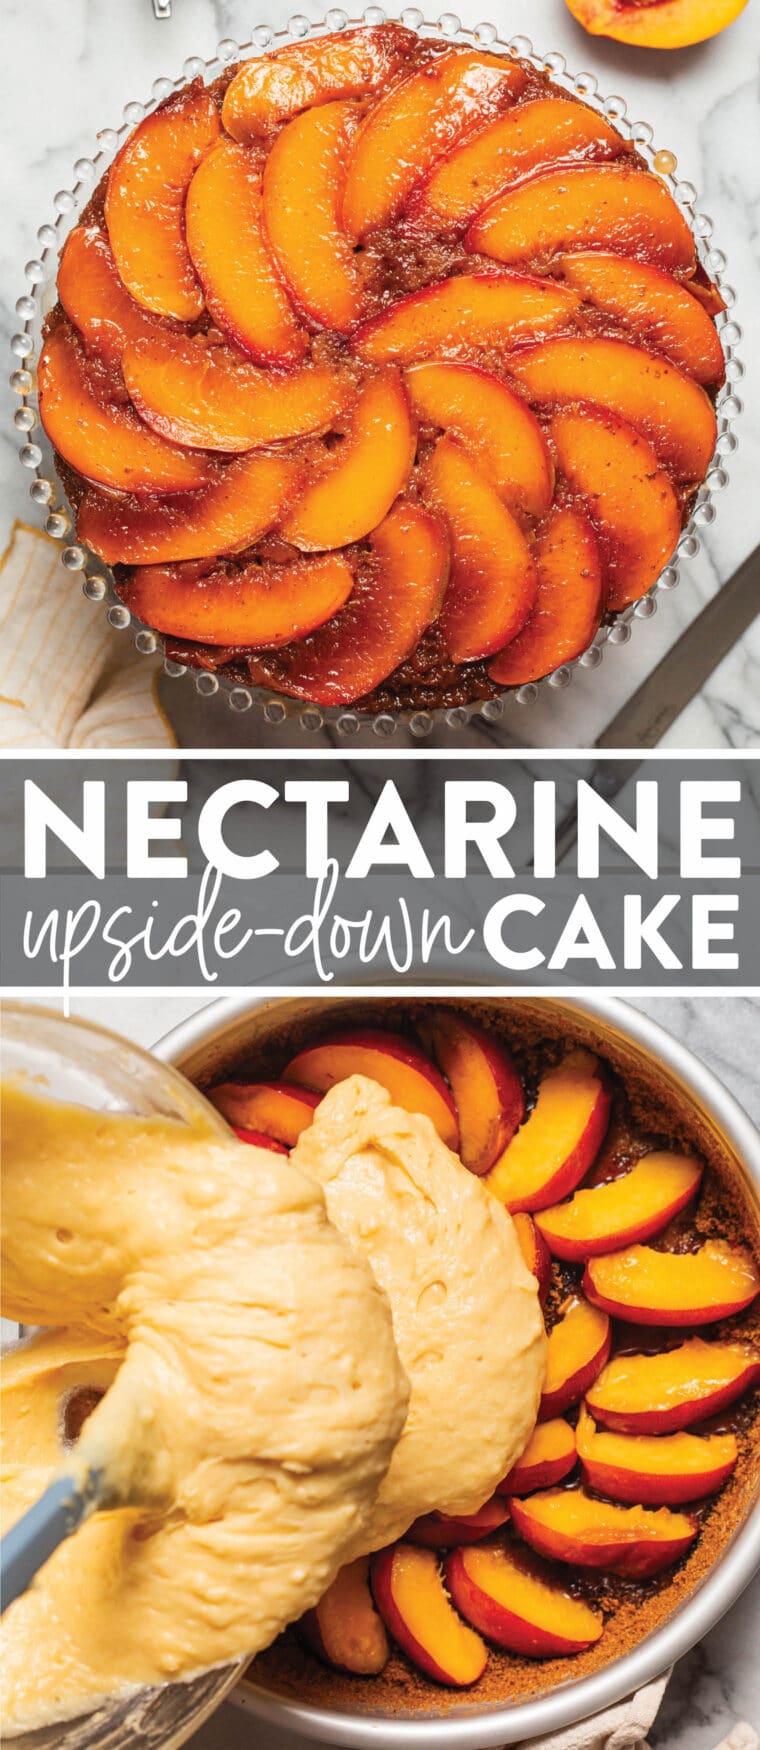
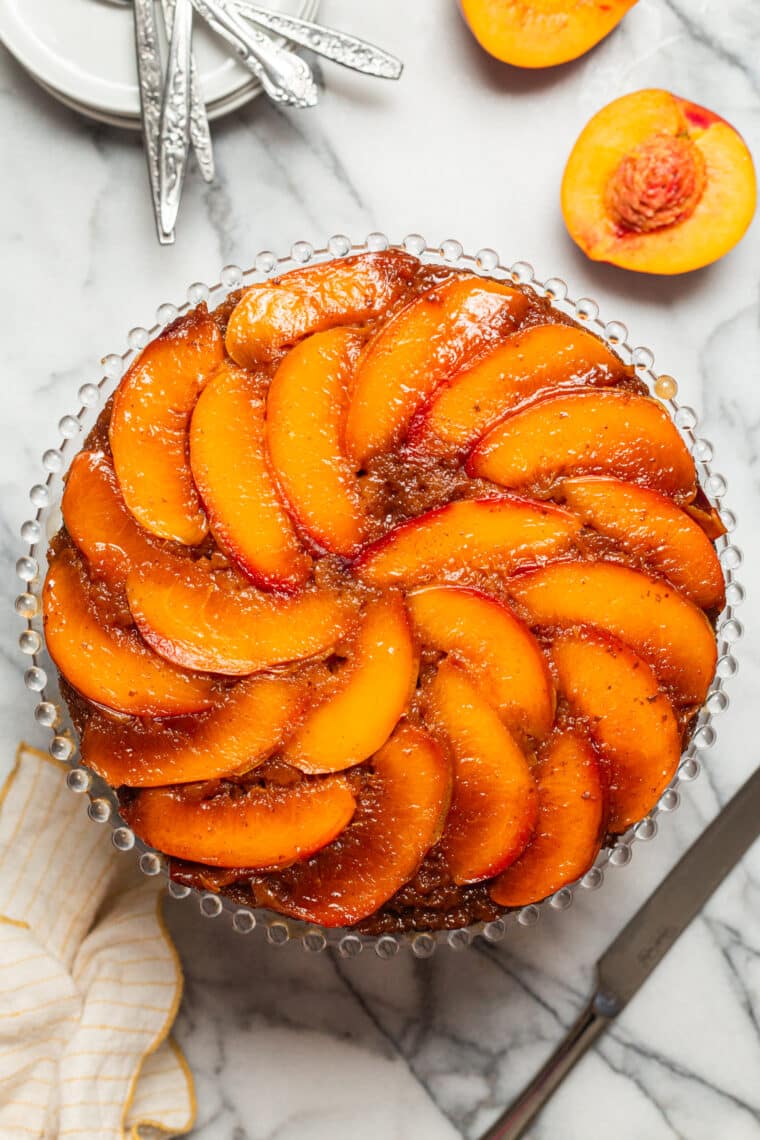
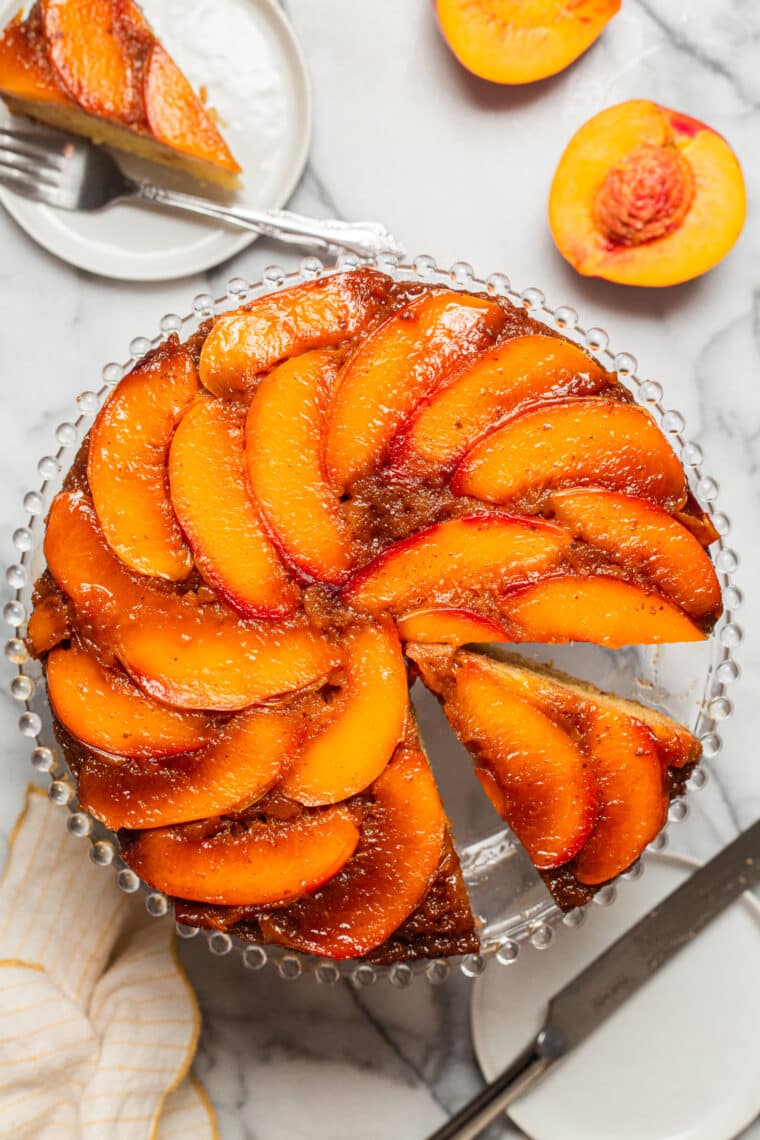
Moist, tender cake with ripe, juicy nectarines or peaches! So pretty and so good. Bonus: the caramelized edges!
why i love this recipe
- Summer goodness. This nectarine cake just screams all the goodness of summer – the absolute perfect and quintessential summer treat. Grab a plate, grab a few slices, and top that bad boy off with some vanilla ice cream.
- No mixer needed. Nope, a mixer is not needed here! It’s such an easy cake batter mix, using up all that fresh summer fruit as needed. Don’t have a cake pan? No worries. A cast iron skillet can be used instead.
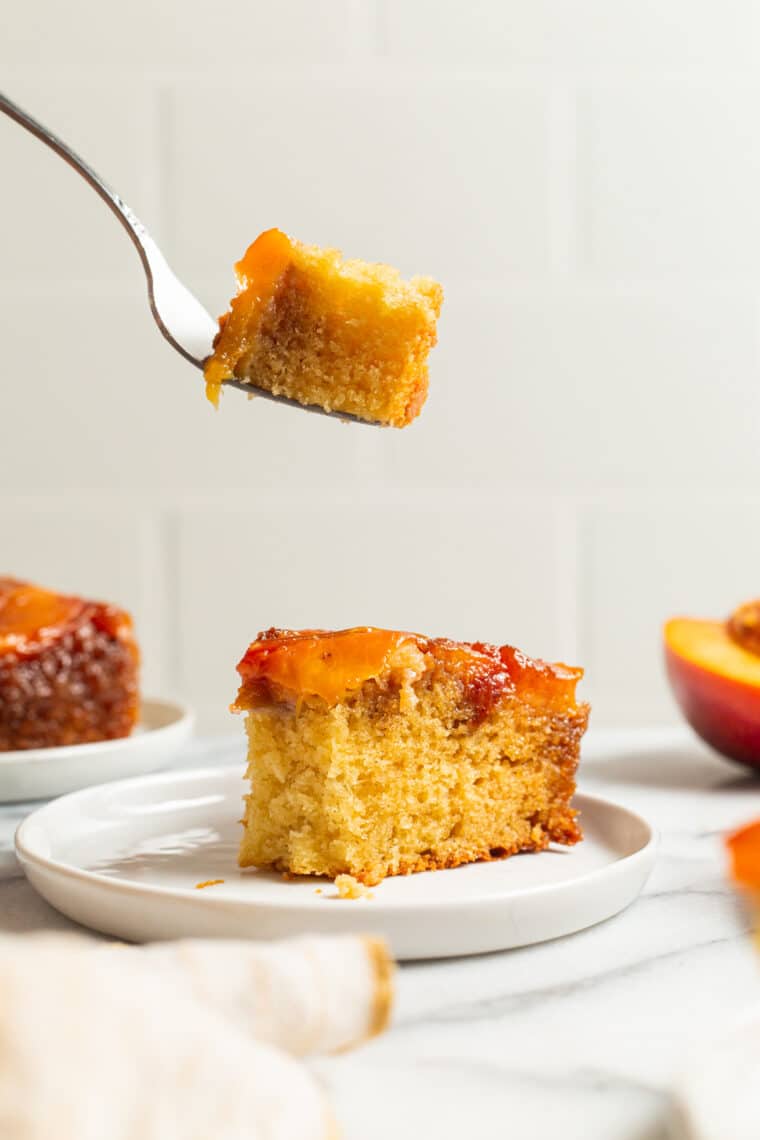
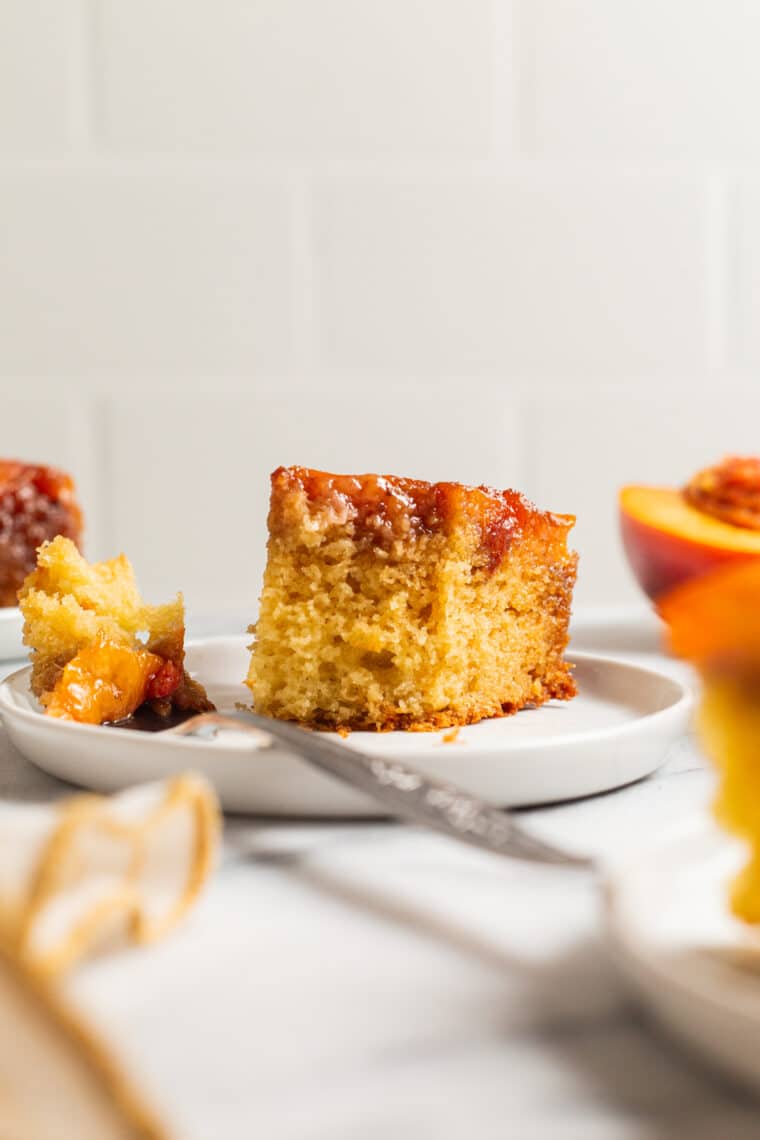
- Corner pieces win all. The nectarines get wonderfully caramelized around those edges with their amazing juices dripping down the sides as the buttery cake just soaks it all in.
- Great for entertaining. The cake tastes as good as it looks, and it makes for a stunning centerpiece for all your summer entertaining. And don’t worry, flipping the cake over is easier than you think, promise. We included some no-fail tips below.
- Freezer-friendly. Did you know this upside-down cake freezes like a dream? That means we can still have the most lovely summertime nectarine cake even in the dead of winter. Yes, please!
what exactly is an upside-down cake
An upside-down cake is a cake typically made with fruit toppings on the bottom of the cake pan, which is then flipped over once baked. This creates that favorited caramelized layer of fruit on the top of the cake. The most popular version of an upside-down cake is a classic pineapple cake but a variety of fruit can also be used.
how to make an easy nectarine upside-down cake
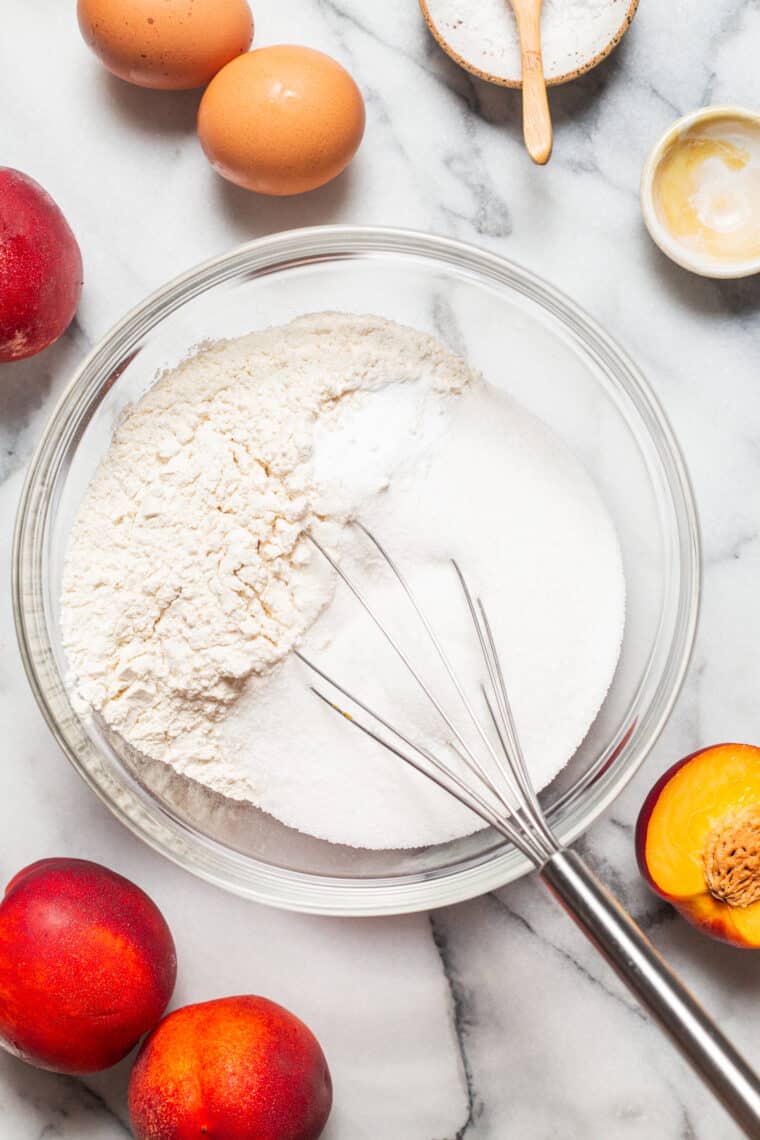
- Whisk together all of the dry ingredients.
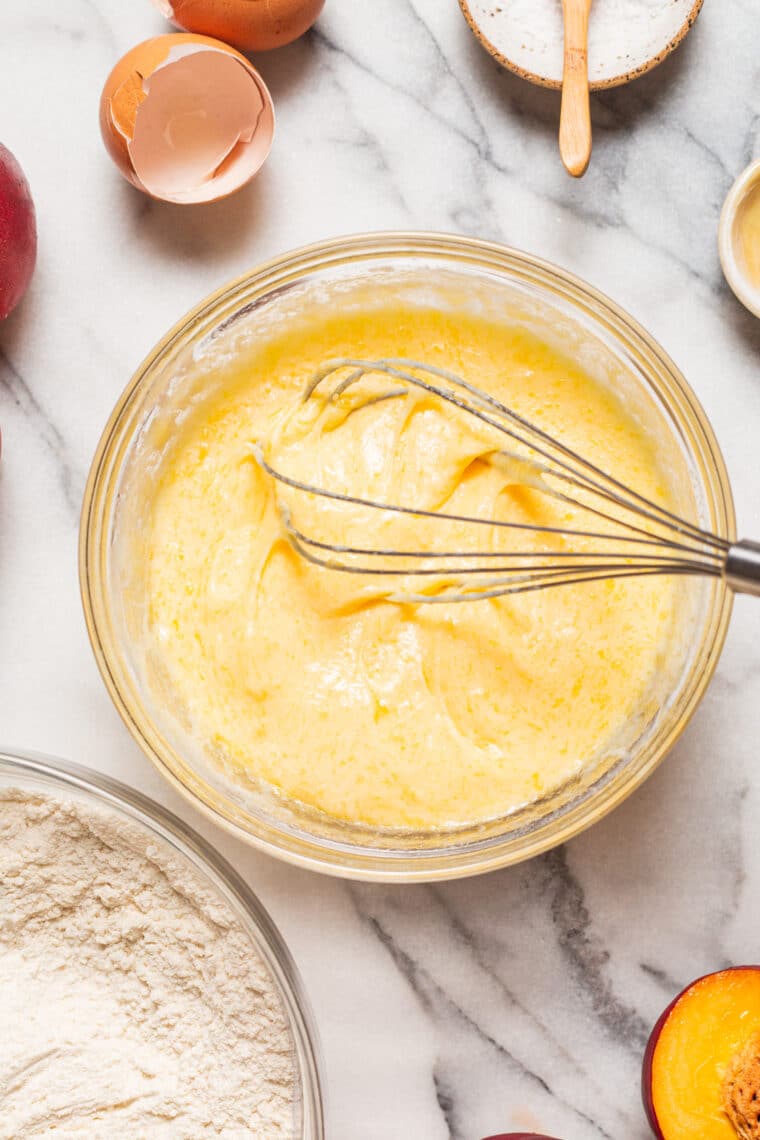
- Whisk together all of the wet ingredients.
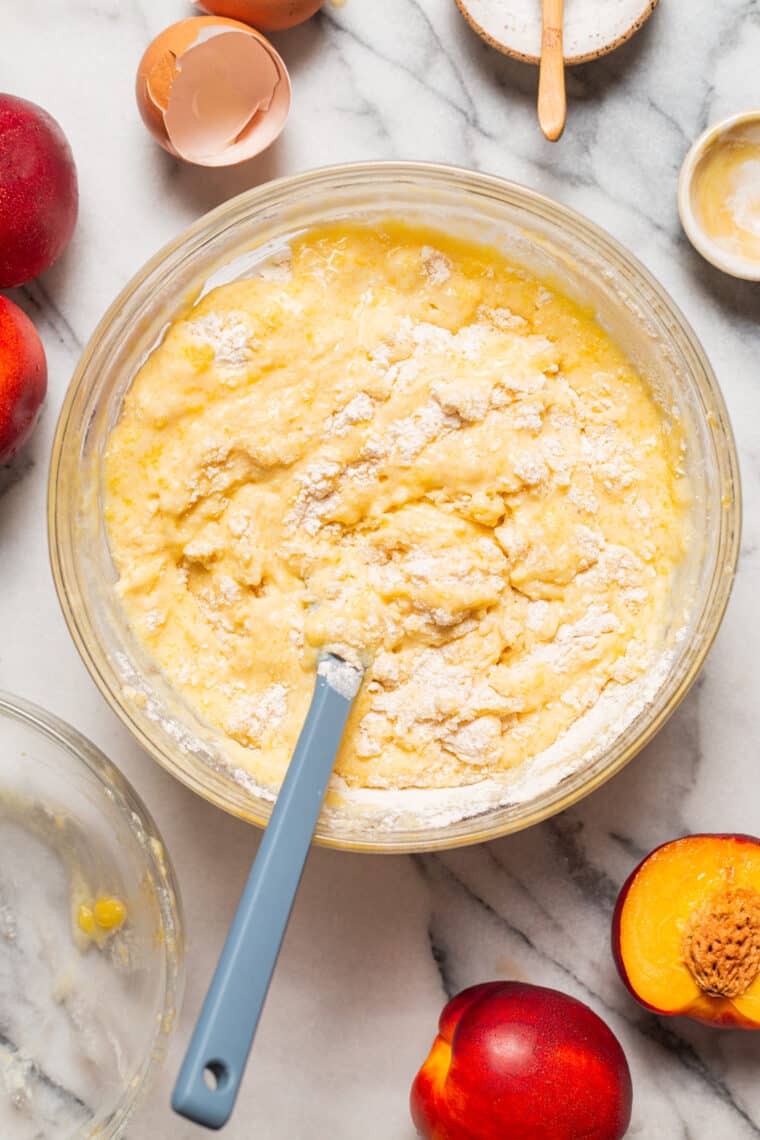
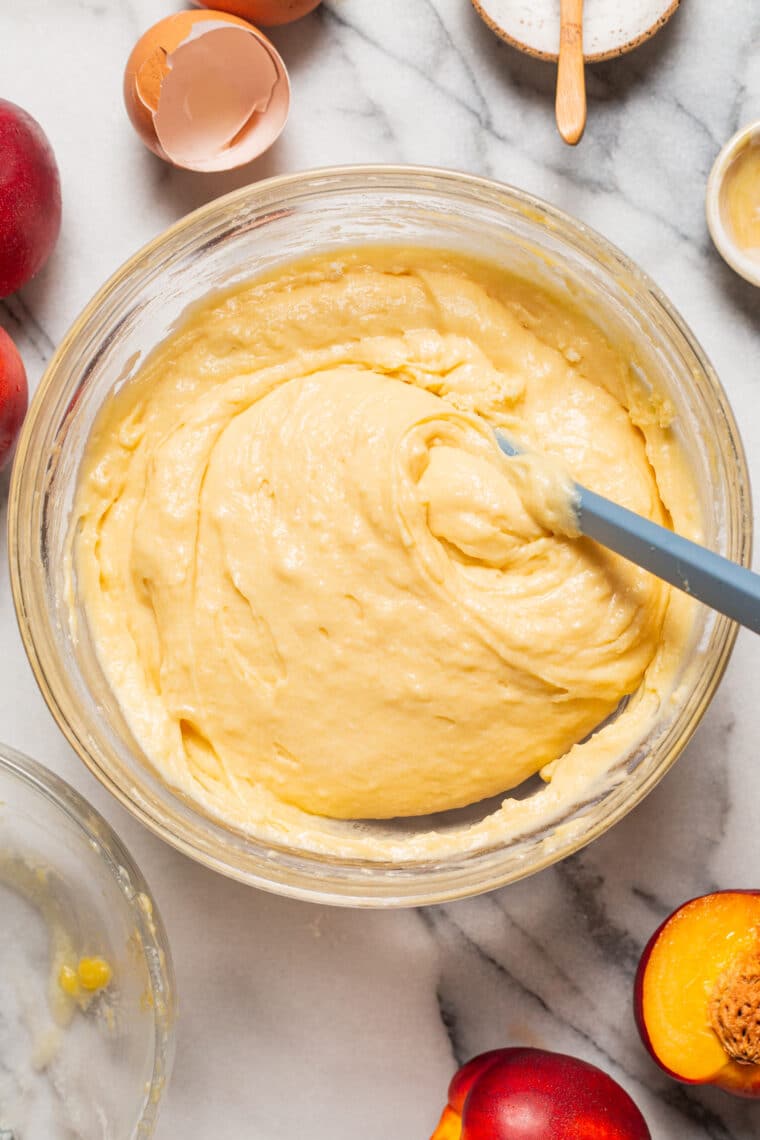
- Stir the wet to dry ingredients, using a rubber spatula and working carefully not to overmix.
- Generously butter the bottom of the cake pan or cast iron skillet, making sure to get the sides as well to ensure that the cake does not stick when flipping.
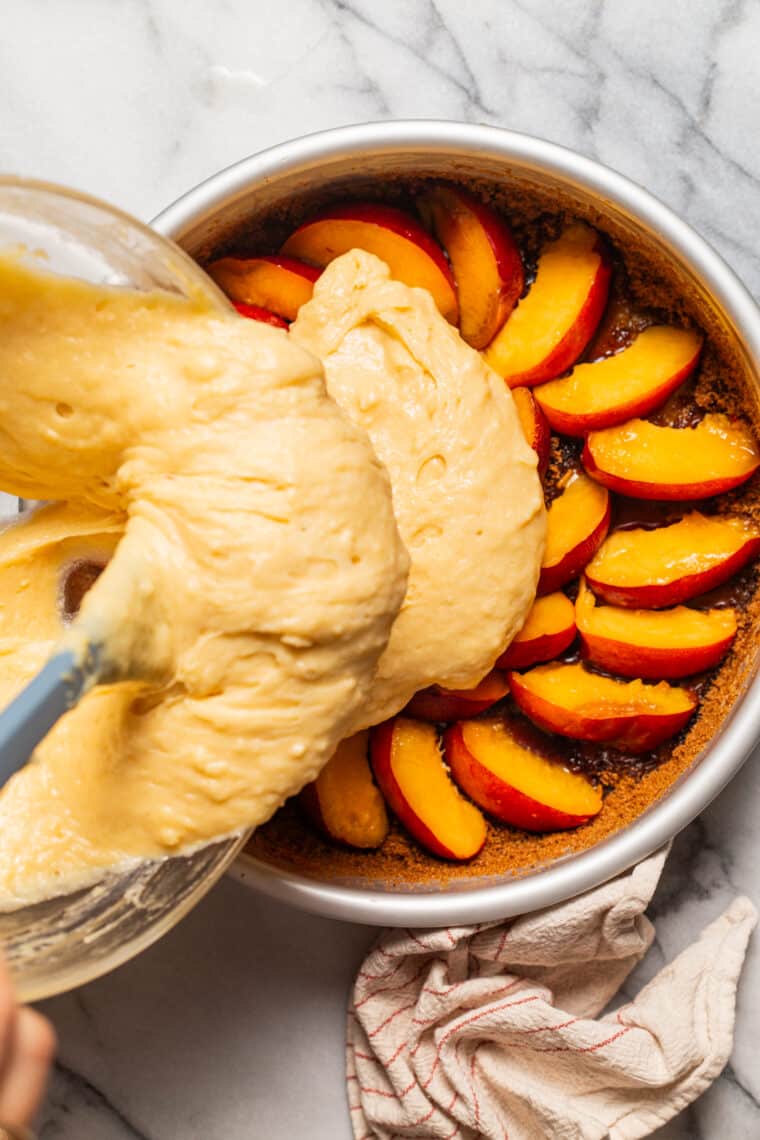
- Sprinkle the brown sugar in an even layer – this is key for that caramelized goodness.
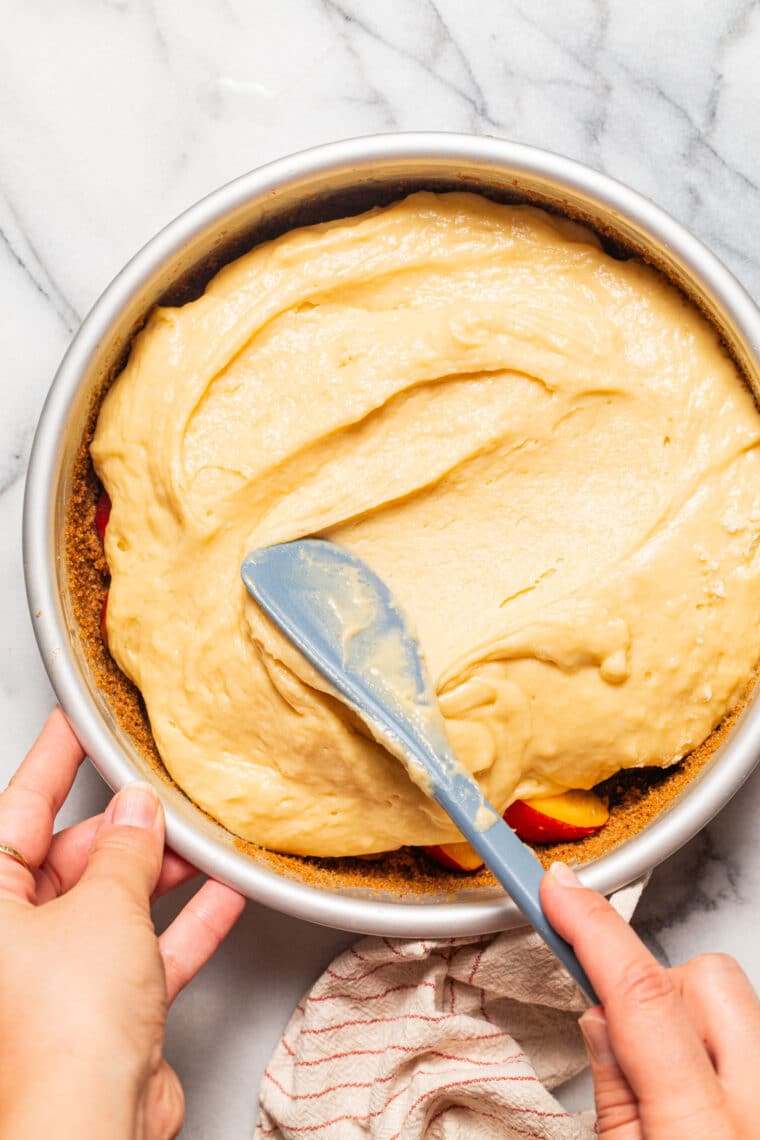
- Arrange the nectarine or peach slices, making sure there are no gaps between the slices.
- Add the finishing touches and top it off with the cake batter, smoothing out the top.
- Bake for about 45 minutes, cooling for 5-10 minutes before flipping it onto a serving plate.
- Serve warm.
fruits to use in an upside-down cake
Nectarines
Peaches
Apricots
Pineapples
Strawberries
Cherries
Apples
Pears
Plums (but not too ripe or juicy)
cake pan versus cast iron skillet
Both a cake pan or cast iron skillet will work very well here. A cast iron skillet retains heat very well for even baking and will generally have more of those deep caramelized edges. The downside of a cast iron skillet is potential flavor transfer from savory dishes made in the cast iron skillet (such as garlic or onion).
fresh, frozen or canned fruit
Fresh fruit
Using fresh fruit is ideal, but this may limit fruit options due to seasonal availability.
Frozen fruit
Frozen fruit can absolutely be used, and is a great way to use seasonal fruits 365 days out of the year. And there is no need to thaw prior to using – handling frozen fruit will be much easier to handle. Baking time may need to be adjusted as the frozen fruit can add additional moisture.
Canned fruit
Avoid using canned fruit as they can be mushy and too heavily soaked in juice or syrup.
tips and tricks for success
- Avoid overmixing. Using a rubber spatula, stir the batter just until everything is just combined and moistened. Overmixing will lead to dense, tough cake.
- Mix it up. Use a different fruit, or add chopped fresh herbs such as basil or thyme. A combination of apples, pears and cinnamon would also make for a perfect Fall version.
- Reheat in the microwave. Heat up a slice of leftover cake in the microwave in short bursts (about 5-10 seconds). It will make all the difference for that warm, cakey, caramelized goodness.
- Freeze as needed. Upside-down cake freezes very well and can typically last up to 3 months in the freezer.
how to easily flip an upside-down cake (without it sticking!)
- Flip the cake shortly after it’s been removed from the oven (about 5-10 minutes).
- Run a butter knife around the sides to help loosen the cake.
- Place a serving plate over the cake. Work quickly and carefully to flip the cake (wearing oven mitts) in one quick motion, gently wiggling. Note, there may be some steam from the cake.
- If the cake has been sitting out for too long, pop it back in the oven for a few minutes for an easy release.
more favorited summertime recipes
Tools For This Recipe
9-inch cake pan or 9-inch cast iron skillet
Nectarine Upside-Down Cake: Frequently Asked Questions
Leftovers can be stored in an airtight container in the fridge for 3-4 days.
Yes! Once cooled completely, portion into individual slices and wrap tightly in plastic wrap followed by aluminum foil to prevent freezer burn. To reheat, thaw overnight in the fridge, reheating at 350°F for a few minutes until heated through or for 5-10 seconds in the microwave.

Nectarine Upside-Down Cake

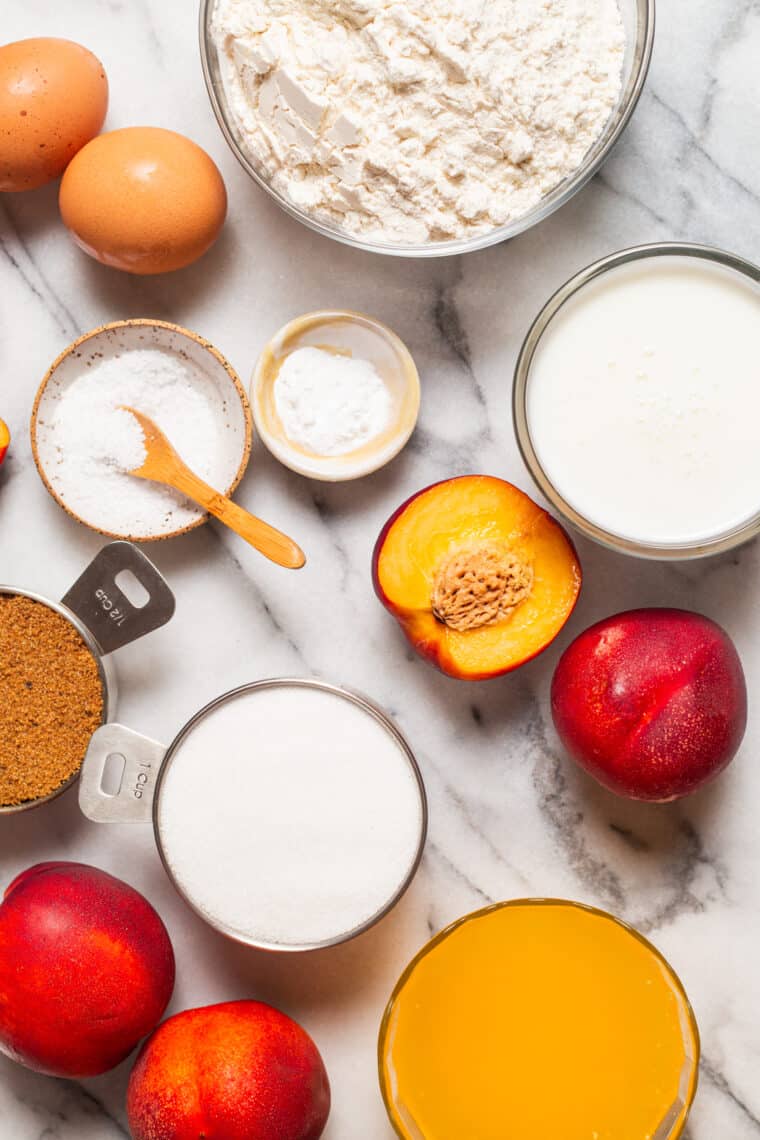
Ingredients
- 2 cups all-purpose flour
- 1 cup sugar
- 1 teaspoon baking soda
- ½ teaspoon salt
- 1 cup buttermilk
- ½ cup unsalted butter, melted and divided
- 2 large eggs
- ½ cup brown sugar, packed
- 4 nectarines, sliced into 1 1/2-inch thick wedges
Instructions
- Preheat oven to 350 degrees F.
- In a large bowl, combine flour, sugar, baking soda and salt.
- In a large glass measuring cup or another bowl, whisk together buttermilk, 4 tablespoons butter and eggs. Pour mixture over dry ingredients and stir using a rubber spatula just until moist.
- Add remaining 4 tablespoons butter to the bottom of a cast iron skillet or 9-inch cake pan, swirling the pan until the bottom and sides are well coated. Sprinkle brown sugar evenly over the melted butter.
- Arrange nectarine slices on top in a single layer. Scoop the batter evenly over the nectarines, smoothing out the top.
- Place into oven and bake for 45 minutes, or until a tester inserted in the center comes out clean.
- Let cool for 5-10 minutes. Run a knife around the edge of the cake and turn upside down onto a serving plate.
- Serve warm.
Video
Did you make this recipe?
Tag @damn_delicious on Instagram and hashtag it #damndelicious!


Hi Chung, I made this recipe today and my cake rose above my baking pan causing the butter drip over and smoke my oven, which is fine, I just have to clean it next time I use it. My main concern is even though the recipe only calls for 1 tsp of baking soda, I could smell the baking soda as soon as I cut into the cake and it was all I could taste. Did I do something wrong?
Lily, it’s very difficult to answer what went wrong since I was not in the kitchen with you. 1 tsp of baking soda is not a very large amount and is generally tasteless so I am not sure what you were tasting. You can also use a springform pan for next time to avoid batter dripping over the top.
Hi, just wanted to share a trick my mom taught me when baking with baking soda. Place the amount of baking soda needed into a small bowl and pour a little vinegar over it. Then add it to the batter. It still allows the cake to rise but doesn’t leave the baking soda taste in the cake. Hope that helps!
Doesn’t the buttermilk have the same effect?